How to Test Pool Water Naturally for Safe Swimming
Learn how to test pool water naturally with this easy step-by-step guide. Achieve sparkling clean pool water and perfect chlorine balance for safe swimming.
Keeping your swimming pool safe starts with one key habit. Over 60 percent of pool owners admit they are unsure how often to test their water or which supplies to use, leaving their families at risk. Water that looks clean can still hide harmful bacteria or imbalanced chemicals. Learning how to test your pool water step by step will help you prevent common mistakes, protect every swimmer, and make your pool routine simple and stress free.
Table of Contents
- Step 1: Gather Essential Pool Water Testing Supplies
- Step 2: Prepare Your Pool for Accurate Testing
- Step 3: Collect a Proper Water Sample
- Step 4: Use Test Kits or Strips to Analyse Levels
- Step 5: Interpret Results and Make Adjustments
Quick Summary
| Key Point | Explanation |
|---|---|
| 1. Gather necessary testing supplies | Collect a water testing kit, thermometer, and clean bottles for accurate pool water assessment. |
| 2. Prepare your pool before testing | Remove debris, turn off pumps, and allow water to settle to get accurate results. |
| 3. Collect samples properly | Submerge collection container at least 30 cm deep and avoid contamination for valid results. |
| 4. Use test kits correctly | Dip test strips as instructed and compare immediately to ensure accuracy of readings. |
| 5. Adjust chemicals based on results | Compare test results to ideal ranges and make gradual adjustments to maintain water safety. |
Step 1: Gather Essential Pool Water Testing Supplies
Before diving into pool water testing, you will need to collect a set of specialised supplies that will help you accurately assess your swimming environment. According to the Drinking Water Inspectorate, proper equipment and standardised procedures are critical for reliable water quality analysis.
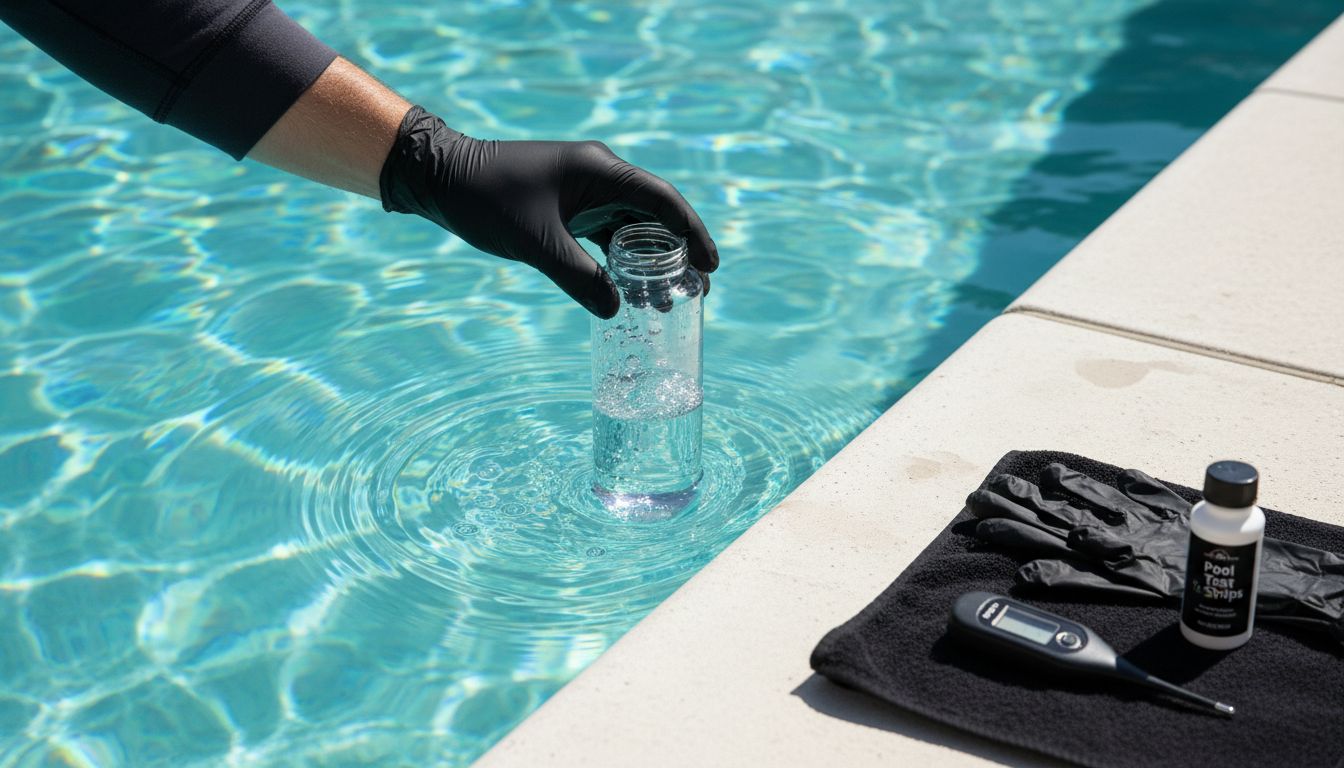
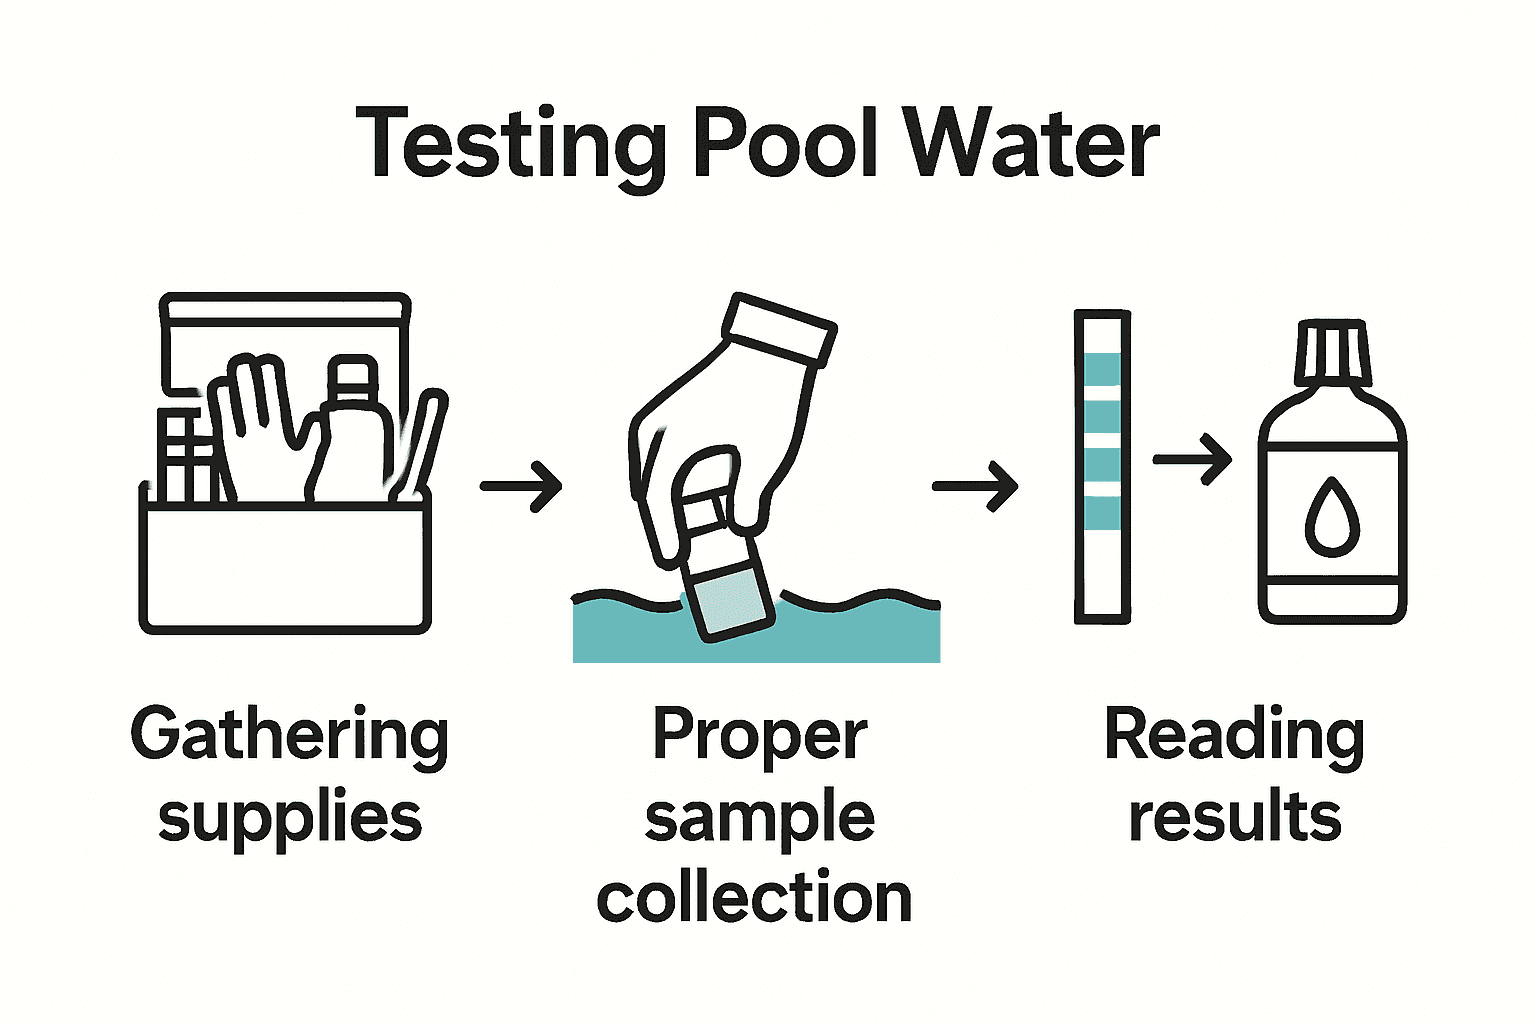
For comprehensive pool water testing, gather these key supplies: a water testing kit with multiple testing strips, clean collection bottles, protective gloves, a thermometer, and a clear container for sample collection. Look for testing kits that can measure multiple parameters simultaneously such as pH levels, chlorine content, alkalinity, and potential contaminants. Water Testing - ClearSpa™ offers reliable options that make this process straightforward.
When collecting your sample, select a location away from pool edges or return jets to get the most representative water reading. Use clean hands or wear gloves to prevent external contamination. Your collected sample will serve as the foundation for understanding your pool’s chemical balance and ensuring safe swimming conditions.
 Pro tip: Always follow the specific instructions provided with your testing kit for the most accurate results.
Step 2: Prepare Your Pool for Accurate Testing
Preparing your pool for accurate water testing requires careful attention to detail and a systematic approach. According to the Drinking Water Inspectorate, proper preparation is crucial for obtaining reliable water quality measurements and ensuring safe swimming conditions.
Start by ensuring your pool is free from debris such as leaves, insects, or other visible contaminants. Turn off pool pumps and jets at least two hours before testing to allow water to settle and become stationary. This helps you obtain a more accurate representation of your pool’s true chemical composition. When collecting your sample, choose a location approximately 30 centimetres below the water surface and away from pool edges or return jets. Understanding the Pool Chemical Balancing Process provides additional insights into maintaining optimal water conditions.
Before testing, calibrate your testing equipment according to manufacturer instructions and ensure all supplies are clean and unused. Temperature can significantly impact water chemistry readings, so measure the water temperature before conducting your tests. A pro tip is to test your pool water during consistent times of day to minimise environmental variables that might affect your results. By following these preparation steps meticulously, you will set the stage for accurate and reliable pool water analysis.
Step 3: Collect a Proper Water Sample
Collecting a water sample is a critical step in accurately assessing your pool’s chemical balance and ensuring safe swimming conditions. According to the Drinking Water Inspectorate, following standardized methods is essential for maintaining sample integrity and obtaining reliable water quality measurements.
To collect an accurate sample, use a clean container specifically reserved for water testing. Submerge the container about 30 centimetres below the pool surface, moving it horizontally away from any pool edges, jets, or return lines to capture a representative water specimen. Hold the container at an angle to allow water to flow in smoothly without trapping air bubbles. Avoid touching the inside of the container or introducing any external contaminants. 7 Essential Pool Water Treatment Tips can provide additional guidance on maintaining water quality.
After collecting your sample, immediately label the container with the date, time, and pool location. Keep the sample at a consistent temperature and avoid direct sunlight. Pro tip: If you cannot perform the test immediately, store the sample in a cool, dark place and complete the analysis within two hours of collection. This approach ensures the most accurate representation of your pool’s current chemical composition and helps you make informed decisions about water treatment and safety.
Step 4: Use Test Kits or Strips to Analyse Levels
Analysing your pool water is a precise process that requires careful attention to detail and the right testing equipment. According to the Drinking Water Inspectorate, using certified testing equipment is crucial for obtaining reliable water quality measurements that ensure safe swimming conditions.
Begin by carefully removing a test strip from its container, holding it by the non reactive end to prevent contamination. Dip the strip into your collected water sample for the exact number of seconds specified in the manufacturer’s instructions typically between 5 to 15 seconds. Remove the strip and gently tap off excess water. Compare the strip’s colour changes against the provided colour chart immediately. Look for readings on key parameters such as pH levels chlorine content alkalinity and potential contaminants. Spa Water Test Strips 6 in 1 can provide comprehensive insights into multiple water quality indicators.
Pro tip: Always check the expiration date on your test strips and store them in a cool dry place with the container tightly sealed. Moisture and heat can compromise the accuracy of your test strips. Reading the results within the recommended timeframe is critical avoid waiting too long as colour changes can become less distinct. By following these steps meticulously you will gain an accurate understanding of your pool water’s chemical composition and be able to take appropriate treatment actions.
Step 5: Interpret Results and Make Adjustments
Interpreting your pool water test results is a critical step in maintaining a safe and healthy swimming environment. According to the Drinking Water Inspectorate, carefully analysing test results and making appropriate adjustments is essential for meeting water quality standards and ensuring swimmer safety.
Compare your test strip results against the recommended ranges for each chemical parameter. For pH levels aim for a range between 7.2 and 7.6. If chlorine levels are low add chlorine sanitiser to increase protection against harmful bacteria. When alkalinity is outside the ideal range between 80 and 120 parts per million use alkalinity increasers or decreasers to stabilise the water chemistry. What Pool Chemicals Do You Need for a Swimming Pool can provide additional guidance on selecting appropriate chemical treatments.
Pro tip: Always add chemicals gradually and retest the water after each adjustment to prevent overcorrection. Wait at least six hours between chemical treatments to allow proper circulation and integration. Maintain a log of your test results and treatments to track your pool’s chemical history and identify any recurring patterns. By systematically interpreting and responding to your test results you will create a safer more consistent swimming environment.
Keep Your Pool Water Natural and Safe with ClearSpa
Testing your pool water naturally requires precision and care to maintain that ideal chemical balance and overall safety outlined in the article. Many pool owners struggle with obtaining accurate readings or finding reliable products that support their goals for a clean and safe swimming environment without harsh chemicals. If you want to confidently manage your pH levels, chlorine content, and alkalinity while protecting your family and guests, ClearSpa offers the trusted water treatment solutions you need.
Explore our range of expertly formulated pool chemicals and testing kits designed to make natural pool water management straightforward and effective. Don’t let uncertainty or guesswork stand between you and safe swimming. Visit ClearSpa today to find the right products and detailed guides to enhance your pool care routine. Take control now to enjoy crystal clear, balanced water all season long with products that put your peace of mind first. Discover how easy safe pool water can be at ClearSpa and boost your confidence in every swim.
Frequently Asked Questions
How do I gather supplies for testing my pool water naturally?
To gather supplies for testing your pool water, collect a water testing kit with multiple testing strips, clean collection bottles, protective gloves, a thermometer, and a clear container for sample collection. Start by organizing these items to ensure you have everything ready before beginning your test.
What preparation steps are needed before testing pool water?
Prepare your pool for testing by removing debris and turning off pumps and jets for at least two hours. This allows the water to settle, giving you a more accurate reading of the chemical composition.
How do I collect a proper water sample for testing?
To collect a proper water sample, submerge a clean container about 30 centimeters below the surface of the pool, avoiding edges and jets. Hold the container at an angle to let water flow in smoothly without trapping air bubbles.
How do I analyze the levels of chemicals in my pool water?
Analyze the chemical levels in your pool water by dipping a test strip into the sample for the time specified by the manufacturer, usually between 5 to 15 seconds. Compare the color changes of the strip against the provided chart to determine critical levels like pH and chlorine content.
What should I do if my pool water test results are outside the recommended ranges?
If your test results are outside recommended ranges, adjust accordingly by adding the necessary chemicals gradually. Retest the water after each adjustment to avoid overcorrection, waiting at least six hours between treatments to allow for proper circulation.
How can I ensure safe swimming conditions after testing my pool water?
To ensure safe swimming conditions, consistently monitor and maintain your pool’s chemical balance, aiming for pH levels between 7.2 and 7.6 and alkalinity between 80 and 120 parts per million. Keep a log of test results and treatments to track trends and identify recurring issues.