How to Clean Hot Tub Jets: A Step-by-Step Guide
Learn how to clean hot tub jets naturally with this step-by-step guide for sparkling results and a refreshed spa experience.
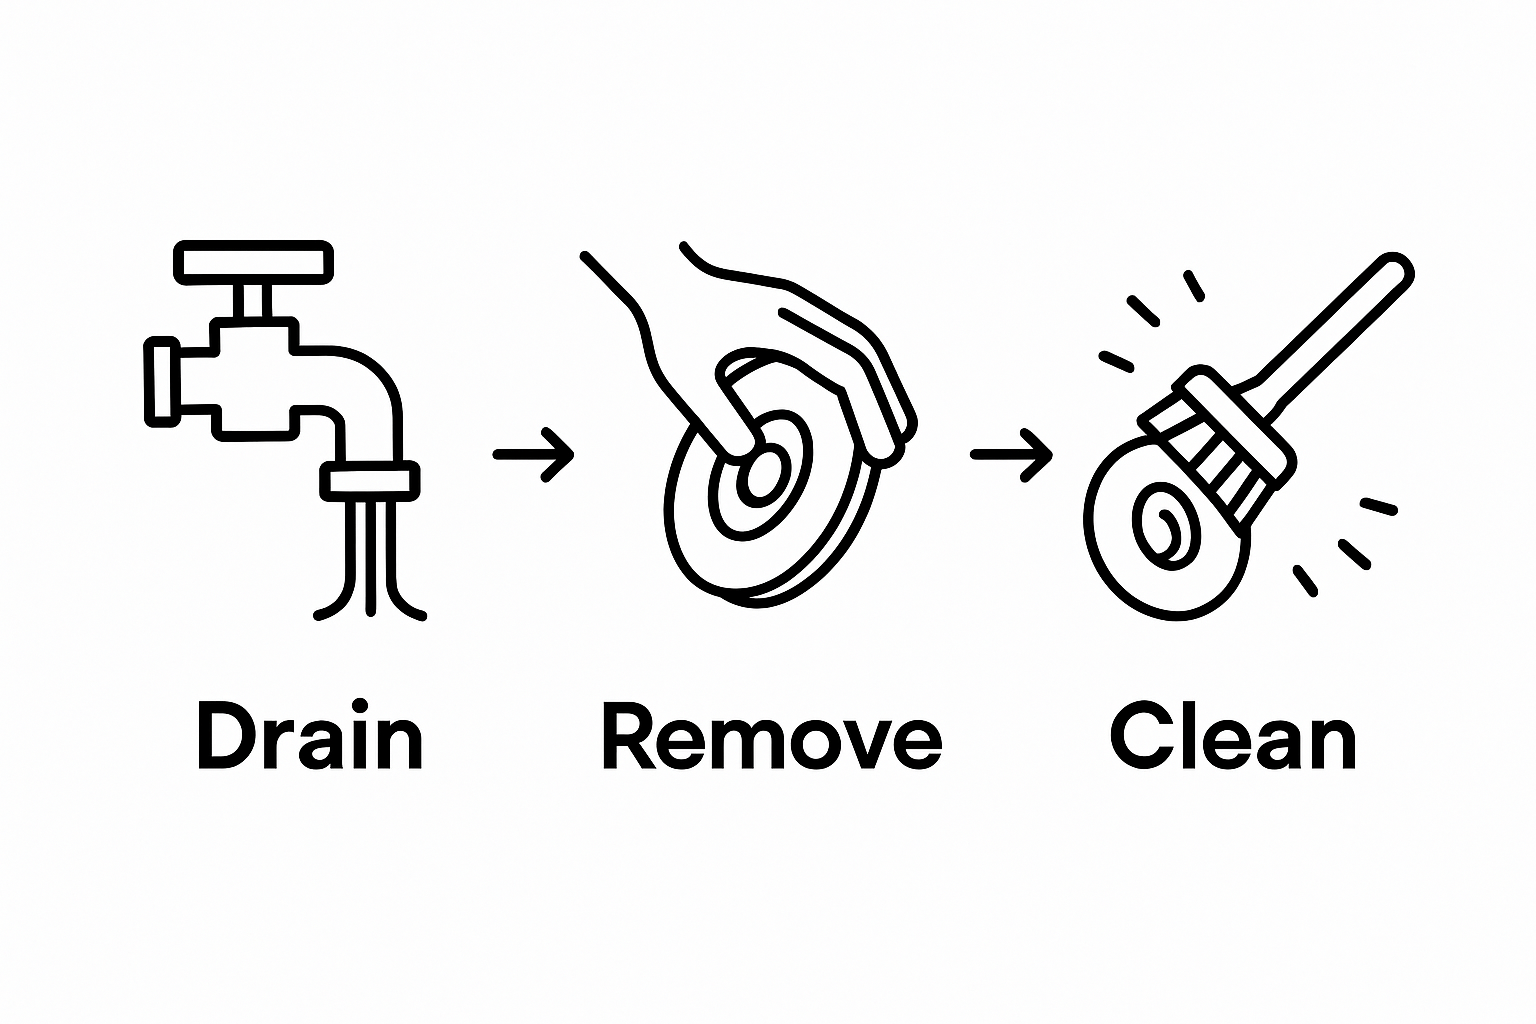
To clean hot tub jets, drain the tub, remove the jet covers and inserts, and scrub them with a solution of one part white vinegar to three parts water, using a soft-bristled toothbrush to dislodge residue around and inside the jet openings. Reassemble the jets, refill the tub and test them before use. Doing this monthly prevents mineral buildup, bacteria and biofilm, and keeps your spa water fresh and safe. The step-by-step guide below walks through each stage in detail.
Table of Contents
- Step 1: Gather Your Cleaning Supplies
- Step 2: Drain The Hot Tub Water
- Step 3: Remove The Jet Covers And Inserts
- Step 4: Clean The Jets Thoroughly
- Step 5: Reassemble The Jets And Test
- Step 6: Refill And Maintain Your Hot Tub
Quick Summary
| Key Point | Explanation |
|---|---|
| 1. Gather the right cleaning supplies | Essential tools include vinegar, soft cloths, and a hot tub-specific cleaner for effective cleaning and maintenance. |
| 2. Drain the hot tub safely | Always turn off power at the breaker before draining; use a garden hose to prevent flooding and landscape damage. |
| 3. Carefully remove jet covers | Observe the mechanism of each jet; gentle pressure avoids damage during removal and ensures smooth reassembly. |
| 4. Thoroughly clean the jets | Use a vinegar solution or specialised cleaner to remove deposits and ensure optimal jet performance and hygiene. |
| 5. Regular maintenance is crucial | Establish a routine for water testing, cleaning, and chemical balancing to keep your hot tub safe and enjoyable. |
Step 1: Gather Your Cleaning Supplies
Preparing to clean your hot tub jets requires careful selection of the right tools and cleaning agents. A well-organised approach ensures you can efficiently and effectively maintain your spa’s critical components. Before starting, understand that proper preparation prevents potential damage and guarantees thorough cleaning.
Your essential toolkit for cleaning hot tub jets will include several key items. According to the Health and Safety Executive, using appropriate cleaning materials is crucial for maintaining safe water systems. You will need white vinegar, a soft cleaning cloth, hot tub cleaner specifically designed for spa systems, gloves, a small brush with soft bristles, and clean towels.
While gathering supplies, select a hot tub cleaner that matches your specific spa model. Not all cleaning products are universal, and using the wrong chemical could potentially damage your jets or internal plumbing. Some cleaners are designed for acrylic surfaces, while others work better on fibreglass or alternative materials. Read product labels carefully to ensure compatibility with your hot tub’s construction.
Consider wearing protective gloves during the cleaning process to shield your hands from potentially harsh chemicals. Choose gloves made from waterproof material that provide adequate grip and protection. This simple precaution prevents skin irritation and ensures you can handle cleaning tools securely.
Organise your supplies in a convenient, easily accessible location near your hot tub. Having everything within reach streamlines the cleaning process and reduces the likelihood of interruptions. Lay out your materials on a clean, dry surface to prevent contamination and ensure each item remains in optimal condition for use.
Below is a summary table of the essential tools and materials required for cleaning hot tub jets, including their purpose and special considerations.
| Tool/Material | Purpose | Special Considerations |
|---|---|---|
| White vinegar | Natural cleaning agent for deposits | Use 1:3 vinegar to water ratio |
| Soft cleaning cloth | Wiping and scrubbing jets | Prefer lint-free to avoid residue |
| Hot tub cleaner | Specifically targets spa buildup | Ensure compatibility with spa material |
| Protective gloves | Protects hands from chemicals | Use waterproof, non-slip gloves |
| Soft-bristled brush | Removes deposits from jet crevices | Avoid stiff bristles to prevent scratches |
| Clean towels | Dry and organise parts | Use for drying jets and surfaces |
By methodically gathering the right supplies, you set the foundation for a successful hot tub jet cleaning experience. Your preparation demonstrates a commitment to maintaining a hygienic, well-functioning spa environment that promotes relaxation and enjoyment.
Step 2: Drain the Hot Tub Water
Draining your hot tub completely is a critical step in the jet cleaning process, preparing the system for thorough maintenance and preventing potential water quality issues. This stage requires careful attention to detail and a systematic approach to ensure safe and efficient water removal.
Begin by turning off all electrical power to the hot tub at the circuit breaker. Safety is paramount during this process, and preventing any electrical interaction with water is crucial. Locate your main power switch and verify the system is completely disconnected before proceeding with drainage.
According to the Devon and Somerset Trading Standards Service, proper drainage involves more than simply releasing water. Most modern hot tubs feature a dedicated drain valve typically situated at the bottom of the tub or near the equipment compartment. Connect a garden hose to this valve, ensuring a secure fit that prevents leakage. Position the opposite end of the hose in an appropriate drainage area that can handle the water volume without causing landscape damage or flooding.
Open the drain valve completely and allow gravity to assist in water removal. Depending on your hot tub’s size, complete drainage might take between 30 to 60 minutes. During this time, gently tilt the hot tub if possible to encourage maximum water expulsion from low points and hidden areas. Pro tip: Use a wet vacuum to remove any remaining water pooled in hard-to-reach corners, ensuring a completely dry surface for jet cleaning.
While draining, inspect the interior for any signs of mineral buildup, biofilm, or unusual discolouration. These visual cues can provide insights into your hot tub’s overall condition and potential maintenance requirements. Take this opportunity to note any areas that might need extra attention during the subsequent cleaning process.
Once drainage is complete, verify the tub is entirely empty by visually checking all sections and using a towel to absorb any residual moisture. A thoroughly drained hot tub sets the perfect stage for accessing and cleaning those intricate jets, preparing you for the next exciting stage of spa maintenance.
This table provides an overview of each main step in the hot tub jet cleaning process, outlining the focus and outcome for every stage.
| Step | Focus/Action | Key Outcome |
|---|---|---|
| Gather cleaning supplies | Assemble all necessary cleaners and tools | Prepared and organised for cleaning session |
| Drain the hot tub water | Safely remove all water with power off | Empty, safe spa ready for jet access |
| Remove jet covers and inserts | Gently detach jet components | Exposed jets for thorough cleaning |
| Clean the jets thoroughly | Scrub and soak jets with vinegar or cleaner | Mineral deposits and bacteria effectively removed |
| Reassemble the jets and test | Reinstall jets and check for proper function | Fully operational jets without leaks |
| Refill and maintain hot tub | Fill with fresh water and balance chemicals | Safe, balanced spa water and ongoing cleanliness |
Step 3: Remove the Jet Covers and Inserts
Removing jet covers and inserts is a delicate process that requires patience and precision. This crucial step allows direct access to the internal mechanisms of your hot tub jets, enabling thorough cleaning and maintenance. Understanding the unique design of your specific hot tub model will make this process smoother and more effective.
According to the Devon and Somerset Trading Standards Service, proper maintenance involves careful handling of spa components. Begin by examining each jet carefully before removal. Most jet covers twist or pop out, but the mechanism can vary between different hot tub models. Gentle pressure is key - apply steady, even force to avoid breaking delicate plastic components.
Before attempting removal, take a moment to observe how each jet is positioned. Some jets might have intricate locking mechanisms that require specific techniques to release. If you encounter resistance, do not force the component. Instead, examine the jet closely to understand its unique attachment system. Some models might require you to rotate the jet cover counterclockwise, while others might need a slight upward pull.
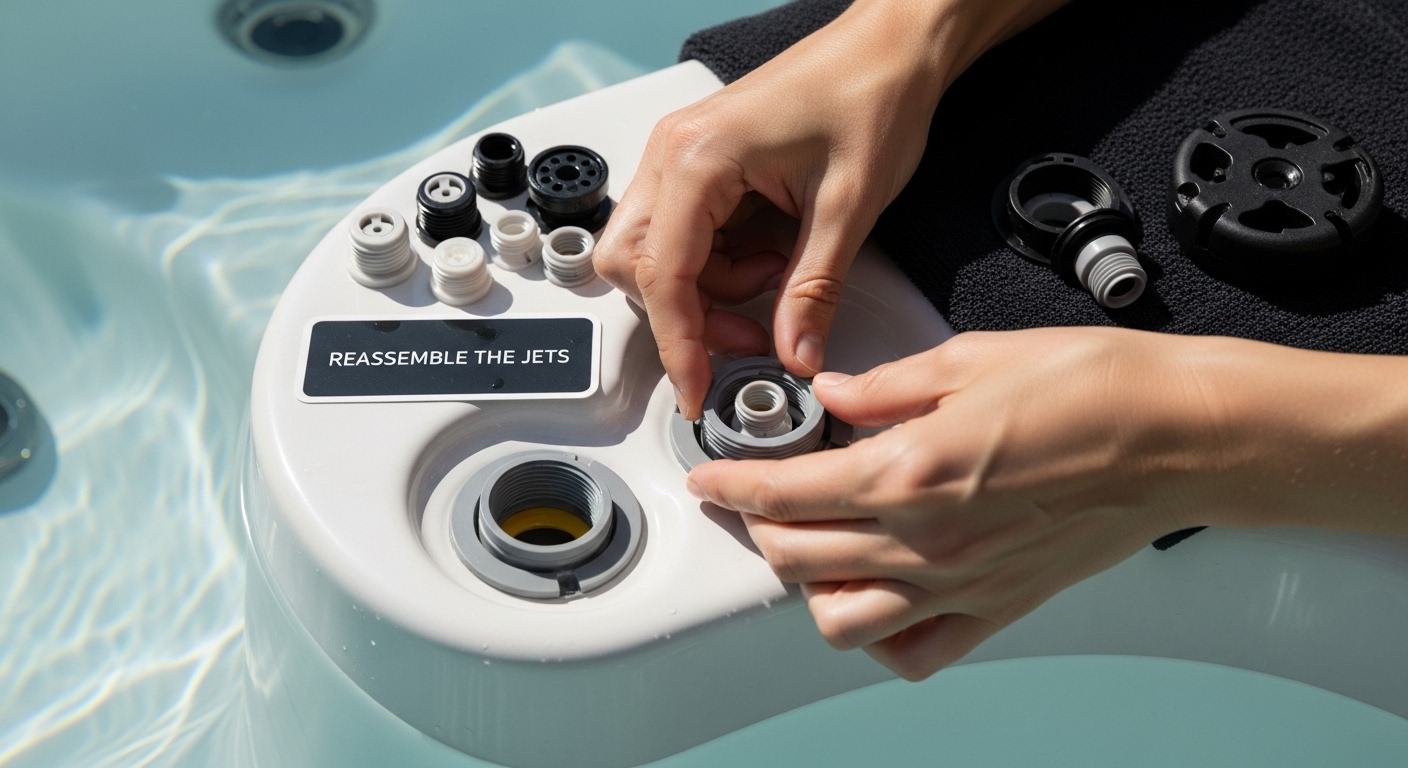
As you remove each jet cover, place them in a clean, organised area. Consider creating a simple layout that mimics their original positioning in the hot tub. This approach prevents confusion during reassembly and helps you track which jet came from which location. Pro tip: Use a soft towel or clean surface to prevent scratching or losing small components during the removal process.
Inspect each jet insert carefully as you remove it. Look for signs of mineral buildup, discolouration, or wear that might indicate deeper maintenance needs. Small debris, calcium deposits, or biological residue can often accumulate in these intricate areas, potentially impacting your hot tub’s performance and water circulation.
Once all jet covers and inserts are removed, you will have clear access to the internal jet mechanisms. Take a moment to visually confirm that each component has been safely extracted. A successful removal sets the stage for comprehensive jet cleaning, bringing you one step closer to restoring your hot tub’s optimal performance and water quality.
Step 4: Clean the Jets Thoroughly
Cleaning hot tub jets requires meticulous attention and a systematic approach to eliminate mineral buildup, bacteria, and potential biofilm that can compromise your spa’s performance and water quality. This critical maintenance step ensures your hot tub remains hygienic and functions optimally.
According to the East Renfrewshire Council, monthly inspection and thorough cleaning of hot tub jets are essential for preventing potential health risks. Begin by preparing a specialised cleaning solution designed specifically for spa systems. White vinegar and water create an excellent natural cleaning mixture, with a recommended ratio of one part vinegar to three parts water. This solution effectively breaks down mineral deposits and kills potential bacteria without introducing harsh chemicals.
Dip a soft-bristled brush or cleaning cloth into your prepared solution, ensuring it is damp but not saturated. Carefully scrub each jet insert and internal mechanism, paying special attention to crevices and hard-to-reach areas where debris tends to accumulate. Use gentle, circular motions to dislodge any visible buildup. Precision is key - work methodically to ensure no area is overlooked during the cleaning process.
For stubborn deposits or areas with significant mineral buildup, consider using a specialised jet cleaner or descaling solution. These products penetrate deep into jet mechanisms, dissolving calcium and mineral deposits that standard cleaning methods might miss. Apply the cleaner according to manufacturer instructions, typically allowing it to sit for several minutes before thoroughly rinsing.
Utilise a clean, soft cloth to wipe down each jet component after cleaning. This step removes any remaining cleaning solution and helps prevent water spots or residue from forming. Inspect each jet carefully, looking for signs of wear, damage, or persistent buildup that might indicate a need for deeper maintenance or potential replacement.
Once cleaning is complete, your hot tub jets should appear visibly clean, with no visible mineral deposits or discolouration. This thorough cleaning process not only improves your spa’s aesthetic appearance but also ensures optimal water circulation and maintains the overall health of your hot tub system. The attention you invest in this step directly contributes to a more enjoyable and hygienic spa experience.
Step 5: Reassemble the Jets and Test
Reassembling hot tub jets marks the final stage of your maintenance process, transforming your cleaned components back into a fully functional spa system. This critical step requires careful attention to detail and a methodical approach to ensure everything is correctly repositioned.
According to the Health and Safety Executive, proper reassembly and testing are essential for maintaining safe and effective spa operations. Begin by carefully reviewing the layout of jet components you previously organised. Precision is paramount - each jet must be returned to its original position with gentle, deliberate movements. Start by aligning the jet insert, ensuring it sits flush with the hot tub surface. Apply light, even pressure to secure each component, listening for a subtle click that indicates proper installation.
While reinstalling, conduct a visual inspection of each jet mechanism. Check for any signs of wear, damage, or irregularities that might have been overlooked during the cleaning process. Pay special attention to rubber seals and connection points, as these are critical for preventing water leakage and maintaining optimal jet performance. If you notice any compromised components, consider replacing them before final reassembly.
Once all jets are reinstalled, prepare to refill and test your hot tub. Slowly add water, ensuring each jet is completely covered. Take care to fill the tub to the manufacturer-recommended level, typically just above the highest jet opening. Before fully powering up the system, double-check that all electrical connections are dry and secure.
Activate the hot tub’s power and run the jets at various settings to verify proper functionality. Listen carefully for any unusual sounds that might indicate misalignment or incomplete installation. Observe the water flow from each jet, checking for consistent pressure and smooth operation. A well-reassembled system should produce a strong, uniform water stream without any sputtering or irregular patterns.
Final verification involves a comprehensive system check. Observe the jets for several minutes, ensuring they operate smoothly and that no water leaks are present around the newly reinstalled components. Your meticulous approach to cleaning and reassembly will result in a rejuvenated hot tub system ready to provide optimal relaxation and enjoyment.
Step 6: Refill and Maintain Your Hot Tub
Refilling and maintaining your hot tub is the final crucial stage in ensuring a clean, safe, and enjoyable spa experience. This process goes beyond simple water replacement, involving careful chemical balancing and ongoing maintenance to protect your investment and ensure optimal performance.
According to the Heart of the South West Trading Standards Service, proper hot tub maintenance requires a systematic approach. Begin by using fresh, clean water from a reliable source. If possible, use a garden hose with a carbon filter to reduce potential mineral contaminants. Fill the hot tub slowly, ensuring water enters at the correct level - typically just above the highest jet opening. This prevents air locks and ensures proper water circulation.
Once filled, it is time to balance your water chemistry. Test strips are your best friend in this process. Use a high-quality water testing kit to check pH levels, alkalinity, and sanitiser concentration. Aim for a pH between 7.2 and 7.6, with total alkalinity ranging from 80 to 120 parts per million. Add the appropriate chemicals gradually, allowing time for complete dissolution and circulation between each addition.
Choose a sanitiser appropriate for your hot tub - chlorine or bromine are most common. Follow manufacturer recommendations for dosage, taking into account your specific hot tub volume. Pro tip: Always add chemicals to water, never water to chemicals, and allow the system to run for at least 15 minutes after each chemical addition to ensure proper distribution.
Establish a regular maintenance routine to keep your hot tub in pristine condition. This includes weekly water testing, monthly deep cleaning, and quarterly comprehensive system checks. Pay attention to the water’s appearance, smell, and clarity. Crystal clear water with no odour indicates a well-maintained system. Keep a log of your maintenance activities, noting chemical additions, water test results, and any observations about the hot tub’s performance.
Final verification involves running the jets, checking water temperature, and ensuring all systems operate smoothly. Your meticulous approach to refilling and maintenance will extend your hot tub’s lifespan, provide a consistently enjoyable experience, and prevent potential costly repairs in the future. Remember, consistent care is the key to a pristine and inviting hot tub environment.
Maintain Sparkling Clean Hot Tub Jets with ClearSpa Solutions
Struggling to keep your hot tub jets truly clean and free from hidden buildup? You are not alone. Even if you follow every step, choosing the wrong cleaning products, using harsh chemicals, or missing vital maintenance details can leave jets less effective and threaten water clarity. This guide highlights the importance of precision, from preparing the right cleaning supplies to balancing water chemistry. The real challenge is finding trusted solutions that simplify the process and protect your spa year-round.
Experience peace of mind by choosing ClearSpa’s premium water treatment products for every cleaning and maintenance stage. All our solutions are thoroughly tested to ensure safety and effectiveness on any spa surface, so you can confidently remove mineral deposits and prevent bacterial growth. Ready for hassle-free upkeep and crystal-clear water? Visit ClearSpa’s trusted online shop now and give your hot tub the care it deserves. Start protecting your investment and enjoy a perfect spa experience today.
Frequently Asked Questions
How often should I clean my hot tub jets?
Regular cleaning of hot tub jets is recommended monthly to prevent mineral buildup, bacteria, and biofilm. Routine inspections during cleaning can help maintain optimal water quality and jet performance.
What cleaning solution is best for hot tub jets?
A mixture of one part white vinegar to three parts water is an effective natural cleaning solution for hot tub jets. For tough mineral deposits, consider using a specialised hot tub cleaner designed for your specific spa model.
How do I remove the jet covers safely?
To remove jet covers, gently apply steady, even pressure to twist or pull them out, depending on your hot tub model. Avoid using excessive force to prevent breaking delicate plastic components. If resistance is encountered, examine the mechanism for a clearer understanding.
What should I do if I notice damage to my hot tub jets during cleaning?
If you see any signs of damage, such as wear or leaking seals during the cleaning process, it’s best to replace those components before reassembling the jets. This ensures optimal performance and helps prevent future issues.