How to Clean Pool Filters Step by Step for Crystal Clear Water
Learn how to clean pool filters step by step using clear, actionable instructions designed for UK homeowners. Ensure sparkling water and maximise pool lifespan.
A poorly maintained pool filter can lead to cloudy water and rising bacteria counts, a problem affecting over 60 percent of British pool owners each season. If you want your garden retreat to stay crystal clear and safe for the family, keeping your filter clean is non-negotiable. This guide gives British homeowners practical steps to upgrade water clarity, improve pool health, and extend your pool system’s life span without confusion or risk.
Table of Contents
- Step 1: Prepare Tools And Power Down Pool Equipment
- Step 2: Remove And Inspect Pool Filter Cartridges
- Step 3: Rinse And Soak Filters With Approved Solutions
- Step 4: Reassemble Filter Housing And Restore Circulation
- Step 5: Verify Filtration Performance And Water Clarity
Quick Summary
| Key Point | Explanation |
|---|---|
| 1. Safely power down pool equipment | Ensure all electrical systems are turned off before starting maintenance to prevent accidents and protect machinery. |
| 2. Thoroughly inspect pool filter cartridges | Examine for signs of wear and damage to ensure optimal filtration performance and prevent water quality issues. |
| 3. Use chemical solutions for deep cleaning | Soak filters in approved cleaner solutions to effectively remove oils and debris that rinsing cannot eliminate. |
| 4. Reassemble filter housing correctly | Ensure proper alignment and tight seals during reassembly to maintain filtration efficiency and prevent leaks. |
| 5. Monitor water clarity and chemical levels | Regularly assess filtration performance and water clarity to address any emerging issues promptly and maintain pool quality. |
Step 1: Prepare tools and power down pool equipment
Before diving into pool filter maintenance, you will need to safely prepare your pool equipment and workspace. The first crucial task involves gathering your tools and ensuring all electrical systems are powered down securely.
Start by collecting the necessary equipment for your pool maintenance. You will need a pool skimmer, leaf net, protective gloves, safety glasses, and any specific cleaning tools recommended by your pool manufacturer. Check pool equipment function carefully to ensure everything is in proper working order before beginning.
Carefully switch off all pool equipment including the pump, filter, heater, and any chemical dosing systems. This step is critical for preventing electrical accidents and protecting sensitive machinery during maintenance. Locate your main electrical panel and turn off the dedicated circuit breaker for pool equipment if possible. Remove any covers or protective casings to prepare for cleaning and inspection.
Expert Advice: Always wear rubber-soled shoes and keep your work area dry when handling electrical pool equipment to minimise risk of electrical shock.
Step 2: Remove and inspect pool filter cartridges
Now that you have powered down your pool equipment, it is time to carefully remove and thoroughly inspect your pool filter cartridges. This critical maintenance step helps ensure your pool remains clean and your filtration system operates at peak efficiency.
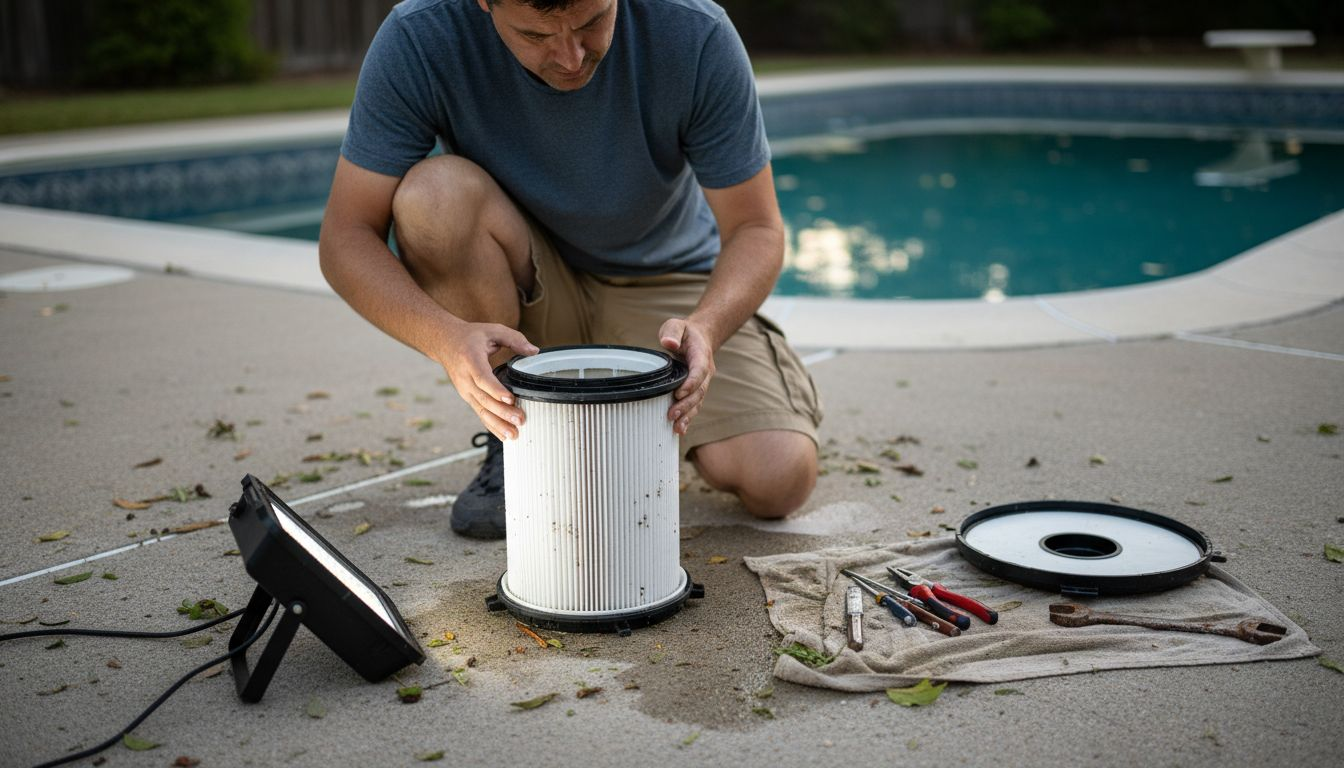
Begin by carefully releasing filter pressure using the air release valve. Unscrew the filter housing cautiously with an appropriate spanner or wrench, taking care not to damage any components. Gently remove the cartridge and place it on a clean surface where you can conduct a detailed inspection. Look closely for signs of wear such as fraying fabric, broken end caps, or significant material degradation. Small tears or excessive debris build-up can compromise your filter’s performance and potentially damage your pool’s circulation system.
When examining the cartridge, pay special attention to the pleated surfaces. Rinse the cartridge thoroughly with a garden hose using moderate water pressure, always spraying from top to bottom to prevent pushing debris deeper into the material. Rotate the cartridge to ensure you clean all surfaces evenly. Some areas might require gentle brushing with a soft brush to remove stubborn dirt particles.
Expert Advice: Always inspect your filter cartridge under good lighting and keep a spare cartridge on hand in case immediate replacement is necessary.
Step 3: Rinse and soak filters with approved solutions
Now that you have removed and initially rinsed your pool filter cartridge, it is time to perform a deep clean using specialised chemical solutions. This crucial step will help break down stubborn oils, greases, and microscopic debris that simple water rinsing cannot remove.
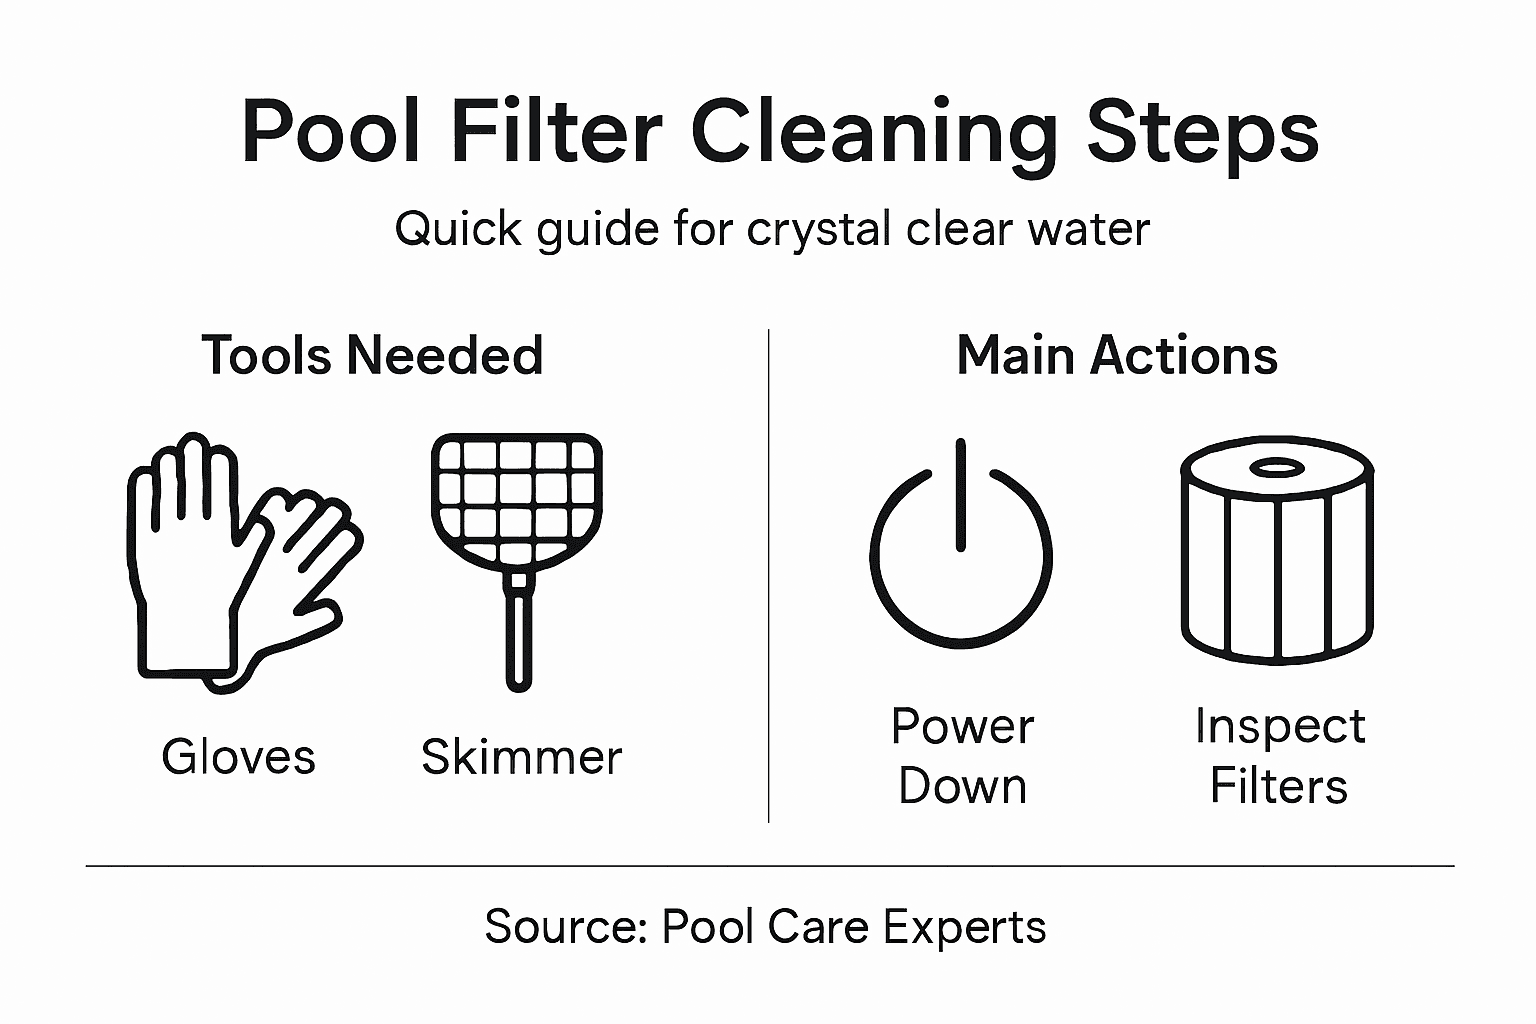
Filter Cartridge Cleaner works best when you dissolve a precise measured amount into water. Prepare a large container with enough solution to fully submerge your filter cartridge. The chemical formula is designed to penetrate and dissolve contaminants that accumulate in the filter pleats. Ensure the cartridge is completely covered and allow it to soak for a minimum of 8 hours or overnight for optimal results.
After soaking, thoroughly rinse the cartridge with clean water to remove all chemical residue. Use a garden hose with moderate pressure, spraying from top to bottom and rotating the cartridge to ensure complete cleaning. Allow the filter to air dry completely in a well-ventilated area before reinstalling it in your pool’s filtration system. Proper drying prevents potential mould or mildew growth and ensures the cartridge maintains its structural integrity.
Here is a quick comparison of pool filter cleaning methods and their effectiveness:
| Cleaning Method | Removes Visible Debris | Eliminates Oils/Grease | Time Required |
|---|---|---|---|
| Water Rinse | Yes | No | Under 10 minutes |
| Soaking in Cleaner | Yes | Yes | 8 hours or overnight |
| Gentle Brushing | Yes, stubborn dirt | No | 10-15 minutes |
| Chemical Clarifiers | Indirectly, via water | Yes, with water flow | Varies, up to hours |
Expert Advice: Always wear protective gloves when handling chemical cleaning solutions and follow manufacturer instructions precisely to avoid damaging your filter cartridge.
Step 4: Reassemble filter housing and restore circulation
With your pool filter cartridge thoroughly cleaned and dried, you are now ready to carefully reassemble the filtration system and restore water circulation. This final stage requires precision and attention to detail to ensure optimal pool performance.
Carefully reposition the clean cartridge back into its housing, making certain it sits perfectly aligned and creates a proper seal. Check that the cartridge is seated correctly with no gaps or misalignments that could compromise filtration efficiency. Gently replace the filter housing cover and hand tighten it securely. Be careful not to overtighten, as this could damage the housing or create uneven pressure.
Before fully recommissioning your pool system, close any valves or air release points that were opened during maintenance. Slowly re-energise the pool pump and observe its operation closely. Listen for any unusual sounds and watch the system pressure gauge to confirm it returns to normal operating ranges. Run the pump for several minutes to circulate the freshly cleaned water and verify that everything functions smoothly.
Expert Advice: Always perform a visual inspection of all connections and seals after reassembly to prevent potential leaks or system inefficiencies.
Step 5: Verify filtration performance and water clarity
With your pool filter reassembled, the final crucial stage involves carefully assessing the effectiveness of your maintenance work. This step determines whether your cleaning efforts have successfully restored your pool’s water quality and filtration system performance.
Check the filter pressure gauge carefully, comparing the current reading to your baseline measurement. A pressure increase of 8 to 10 psi above normal indicates your previous cleaning was necessary. Visually inspect the water for clarity and brightness. Crystal clear water without cloudiness suggests your filtration system is functioning optimally. Pay close attention to water transparency, looking for any remaining debris or unusual discolouration that might signal ongoing filtration challenges.
Perform a comprehensive water chemistry test to validate your filtration performance. Check chlorine levels, pH balance, and alkalinity to ensure they fall within recommended ranges. If water appears persistently cloudy despite your thorough cleaning, you may need to investigate potential issues with pump operation or consider using water clarifying products. Remember that consistent maintenance and proactive monitoring are key to maintaining pristine pool water quality.
Below is a summary of recommended pool water chemistry levels for optimal filtration:
| Parameter | Ideal Range | Benefit to Filtration |
|---|---|---|
| Chlorine | 1.0-3.0 mg/L | Kills bacteria, keeps water clear |
| pH | 7.2-7.6 | Prevents filter and skin issues |
| Alkalinity | 80-120 mg/L | Stabilises pH, reduces fluctuations |
| Filter Pressure | Matching baseline | Indicates healthy circulation |
Expert Advice: Keep a maintenance log tracking filter pressure, water clarity, and chemical levels to help you identify patterns and address potential issues early.
Keep Your Pool Filter Crystal Clear with Expert Water Treatment Solutions
Maintaining pristine pool filter cartridges and ensuring optimal filtration performance can be challenging without the right products. This article highlights the importance of careful cleaning, proper chemical soaking, and pressure monitoring to achieve crystal clear water. If you want to avoid common pitfalls like filter damage, debris build-up, and cloudy water, you need trusted chemicals and maintenance tools designed specifically for pools.
Enhance your pool care routine today with ClearSpa’s premium range of pool chemicals and spa essentials. Our products are expertly formulated to tackle oils, greases, and microscopic debris that simple rinsing can miss. Don’t wait until your water clarity suffers or your filter system strains. Visit ClearSpa now to discover the finest water treatment solutions that keep your filtration system running smoothly and your pool sparkling. Take control of your pool’s health and enjoy worry-free, crystal clear water all season long.
Frequently Asked Questions
How often should I clean my pool filters for crystal clear water?
Cleaning your pool filters is typically recommended every 4-6 weeks during the pool season. Regular maintenance will help to maintain optimal water clarity and prolong the life of your filter system.
What tools do I need for cleaning pool filters?
You will need a pool skimmer, leaf net, protective gloves, safety glasses, and any specific cleaning tools recommended by your pool manufacturer. Gather these tools before starting the cleaning process to ensure efficiency and safety.
How do I properly inspect pool filter cartridges?
To inspect your pool filter cartridges, first release the filter pressure using the air release valve and then remove the cartridge. Look for signs of wear such as fraying fabric or significant debris build-up, which can affect your filter’s performance.
What is the best method to deep clean pool filters?
The best method for deep cleaning pool filters is to soak them in a specialised filter cartridge cleaner for at least 8 hours. This solution will dissolve oils and debris that a simple rinse might miss, ensuring your filter operates at peak efficiency.
How can I verify the performance of my pool filtration system?
To verify the filtration performance, check the filter pressure gauge after cleaning. A pressure increase of 8 to 10 psi above normal indicates the need for cleaning; also ensure the water is clear and test chemical levels to confirm your filtration is effective.
What should I do if my pool water remains cloudy after cleaning the filters?
If your pool water remains cloudy despite cleaning, check pump operation and consider using water clarifying products. Also, ensure that your pool’s chemical levels, including chlorine and pH, are within the ideal ranges for optimal clarity.