Hot Tub Filter Replacement Steps for Perfect Water
Discover hot tub filter replacement steps in clear detail. Follow our practical guide to achieve cleaner water and maximise your spa’s performance reliably.
Over 60 percent of British hot tub owners report cloudy water when filters are neglected. Keeping a spa fresh takes more than chemicals. The right filter, matched to your specific hot tub, is vital for crystal clear water and extended enjoyment. This guide walks you through every step so your next filter replacement is simple, safe, and effective.
Table of Contents
- Step 1: Gather Necessary Tools And A New Filter
- Step 2: Turn Off Power And Access The Filter Unit
- Step 3: Remove Old Filter And Inspect Housing
- Step 4: Install New Filter Securely In Place
- Step 5: Restore Power And Check Water Flow
Quick Summary
| Key Point | Explanation |
|---|---|
| 1. Gather necessary tools and filter | Prepare tools like gloves, pliers, and a clean bucket to ensure a smooth filter replacement. |
| 2. Turn off power before starting | Disconnect electrical power to avoid hazards while accessing the filter unit. |
| 3. Inspect old filter and housing | Check for damage or debris on the old filter and its housing to prevent future issues. |
| 4. Securely install new filter | Align and insert the new filter properly to ensure effective filtration performance. |
| 5. Test system after restoring power | Observe water flow and check for leaks to confirm the new filter functions correctly. |
Step 1: Gather necessary tools and a new filter
Preparing to replace your hot tub filter requires careful planning and the right equipment. You will collect specific tools and a brand new replacement filter to ensure a smooth maintenance process.
Start by assembling your toolkit. You will need a clean workspace and the following items: protective gloves, a clean towel, needle nose pliers, a clean bucket, your new hot tub filter, and a filter cleaning solution. Verify the replacement filter matches your specific hot tub model by checking the dimensions and connector type. If possible, consult your hot tub manufacturer’s documentation or precise filter specifications to guarantee compatibility.
Before beginning the replacement process, lay out all your tools within easy reach. Ensure your workspace is clean and well lit, with ample room to manoeuvre. Having everything prepared beforehand will make the filter replacement process smoother and more efficient.
Expert Advice: Always keep a spare filter on hand so you can quickly replace a worn-out filter without interrupting your hot tub enjoyment.
Here is a quick reference on what to check when assessing hot tub filter compatibility:
| Filter Attribute | Why It Matters | What to Look For |
|---|---|---|
| Dimensions | Ensures proper fit in housing | Same length and diameter |
| Connector Type | Secures the filter | Matching threads/fittings |
| Material Quality | Affects filtration efficiency | Durable, approved fibres |
| Manufacturer Guidelines | Avoids voiding warranty | Listed compatible models |
Step 2: Turn off power and access the filter unit
Safety is paramount when preparing to replace your hot tub filter. This step involves completely disconnecting electrical power to prevent any potential electrical hazards during the maintenance process.
Begin by locating your hot tub’s electrical circuit breaker. Carefully switch off the main power supply to the hot tub at the breaker box. If you are uncertain about which circuit controls your hot tub, consider using a voltage tester to confirm the power is fully disconnected. Safe hot tub maintenance practices recommend double checking the electrical isolation before proceeding.
Next, locate the filter compartment on your hot tub. This is typically found underneath the spa cover or behind a removable panel. Gently remove the cover or panel while being mindful of any clips or fastening mechanisms. Some hot tub models might require you to unscrew the filter housing carefully.
Expert Tip: Always use a torch or good lighting to ensure you can clearly see the electrical connections and filter compartment during this process.
Step 3: Remove old filter and inspect housing
With the power safely disconnected, you are now ready to remove the existing hot tub filter and conduct a thorough inspection of the filter housing. This critical step ensures your hot tub remains in optimal working condition and helps prevent potential maintenance issues.
Gently grasp the old filter and twist it slightly to loosen it from the housing. Some filters have a quarter turn mechanism, so rotate carefully to release. As you remove the filter, inspect for signs of wear such as tears, brittleness, or significant discolouration. Pay close attention to the filter’s surface and edges for any visible damage or deterioration that might compromise its filtering efficiency.
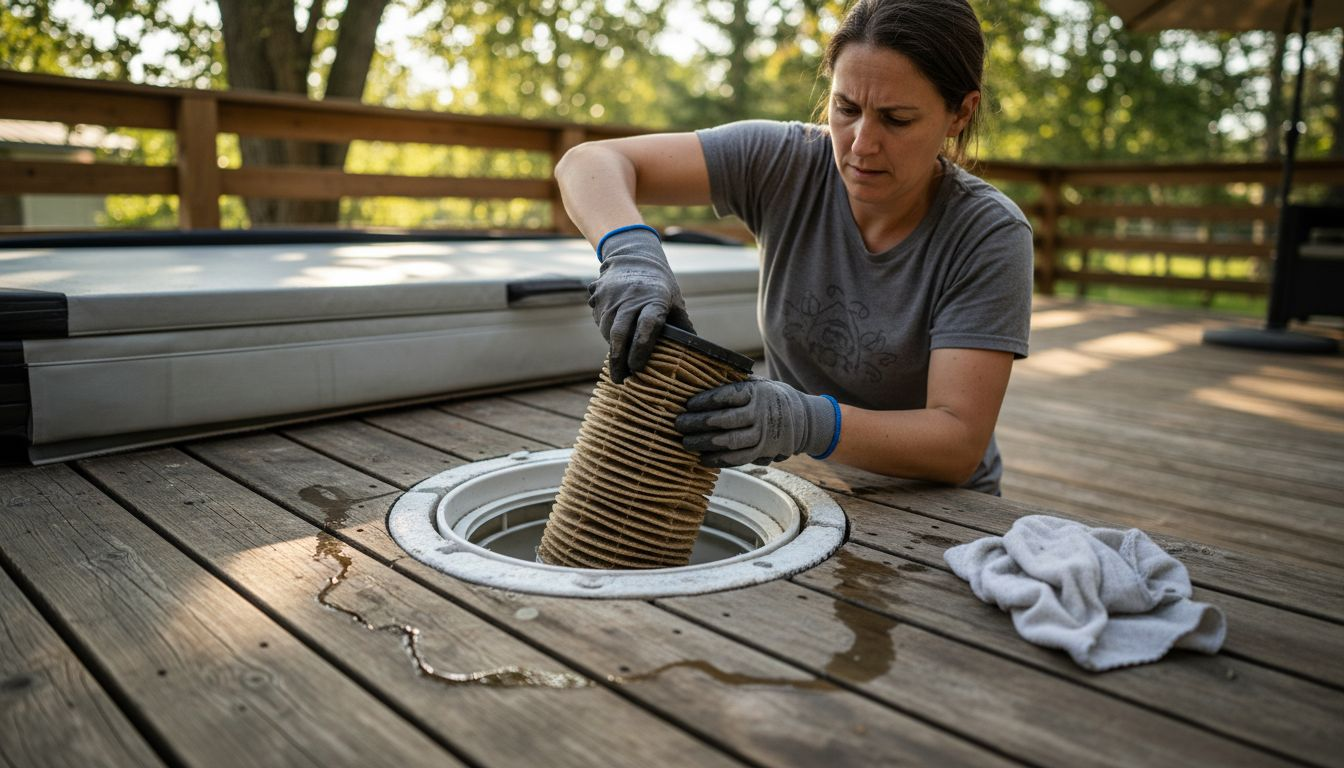
Next, examine the filter housing meticulously. Look for any debris, mineral buildup, or signs of damage such as cracks, warping, or perished seals. Check that the housing’s connection points are clean and intact. Ensure no foreign objects or accumulated grime could obstruct water flow or prevent proper filter installation. A comprehensive inspection at this stage can help you identify potential issues before they become more significant problems.
Expert Tip: Keep a clean cloth nearby to wipe down the filter housing and remove any loose debris before installing the new filter.
Step 4: Install new filter securely in place
With the old filter removed and the housing inspected, you are now ready to install the replacement filter. This step requires careful alignment and gentle handling to ensure a proper fit and optimal performance.
Begin by examining the new filter and comparing its dimensions and connection type with the housing. Align the filter carefully, noting any specific orientation markers or grooves. Gently insert the filter into the housing, applying light and even pressure. Rotate the filter using the recommended quarter turn mechanism until you feel a secure click. Ensure the filter sits flush and creates a tight seal within the housing. Filter installation techniques recommend checking that no gaps or misalignments are present.
Once installed, give the filter a gentle tug to confirm it is locked in place. The filter should feel solid and immovable, with no wobbling or loose connections. A properly installed filter will help maintain your hot tub’s water quality and ensure efficient filtration throughout your spa experience.
Expert Tip: Always handle your new filter with clean hands to prevent introducing additional contaminants during the installation process.
Step 5: Restore power and check water flow
With the new filter successfully installed, you are now ready to restore power and verify the system’s functionality. This final stage ensures your hot tub is prepared to deliver clean and efficiently filtered water.
Carefully return to the circuit breaker and switch the power back on for your hot tub. Once powered, observe the system closely for the first few minutes. Listen for any unusual sounds and watch the water circulation. Water circulation diagnostics recommend checking that water moves smoothly through the filter without any obstruction or irregular flow patterns. Examine the water surface for consistent movement and check that jets are functioning normally.
After restoring power, run the hot tub pump for several minutes to confirm the new filter is working correctly. Look for clear water movement, steady jet performance, and no signs of leakage around the filter housing. A properly functioning system will demonstrate smooth water circulation and maintain appropriate pressure throughout the filtration process.
Expert Tip: Keep a clean cloth nearby during this process to quickly address any minor water splashes or drips that might occur during system restart.
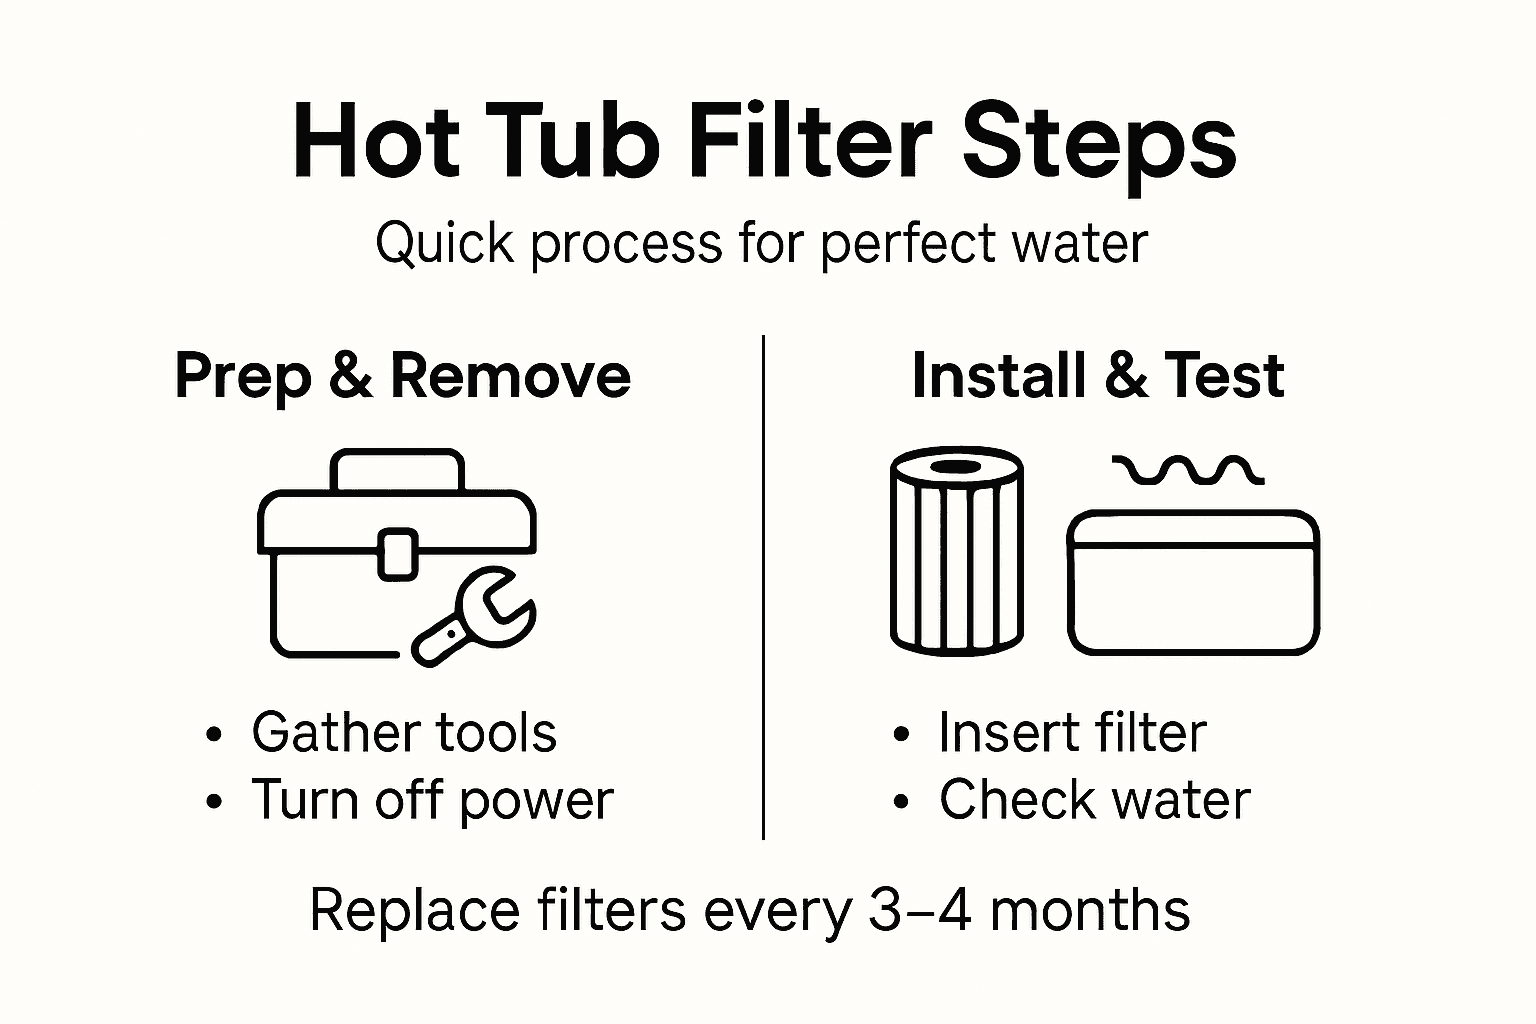
This summary compares key tasks at each step of the hot tub filter replacement process:
| Step | Main Objective | Critical Checks |
|---|---|---|
| Gather Tools & Filter | Prepare for replacement | Confirm filter compatibility |
| Power Off & Access Unit | Ensure safety | Verify no live electricity |
| Remove & Inspect Filter | Assess old filter and housing | Check for wear and debris |
| Install New Filter | Fit securely for best operation | Align and seal correctly |
| Restore Power & Test | Confirm proper water flow | Inspect for leaks and noise |
Keep Your Hot Tub Water Perfect with ClearSpa Solutions
Replacing your hot tub filter is essential for maintaining crystal-clear water and a safe relaxing environment. The article highlights the challenge of ensuring filter compatibility, securely installing the new filter, and safely restoring power to avoid any hazards. Common concerns include identifying wear on the old filter, avoiding leaks, and achieving optimal water flow for the best spa experience. ClearSpa understands these crucial pain points and offers a diverse range of premium hot tub chemicals and maintenance tools designed to enhance filtration efficiency and water quality.
Take control of your hot tub care with ClearSpa’s expertly tested products and enjoy peace of mind knowing you have everything needed to maintain your spa flawlessly. Visit ClearSpa today for trusted solutions and step confidently into effortless hot tub maintenance. Explore our full range of hot tub essentials crafted to support every stage of your filter replacement and water treatment journey. Act now to keep your water perfectly balanced and your spa inviting all year round.
Frequently Asked Questions
How do I know which filter to buy for my hot tub?
To find the right replacement filter, check the dimensions and connector type of your existing filter to ensure compatibility. Refer to your hot tub’s manufacturer documentation or specifications for precise details.
What tools do I need for hot tub filter replacement?
You will need protective gloves, a clean towel, needle nose pliers, a bucket, a new hot tub filter, and a filter cleaning solution. Gather these items in a clean and well-lit workspace before starting the replacement process.
Can I replace the hot tub filter myself?
Yes, you can replace the hot tub filter yourself, provided you follow each step carefully to ensure safety and effectiveness. Before beginning, ensure that the hot tub power is completely turned off to avoid any electrical hazards.
What should I inspect when removing the old hot tub filter?
When removing the old filter, inspect it for signs of wear such as tears or discolouration, and check the filter housing for debris and damage. Look for any cracks or obstructions that could affect the performance of your new filter.
How can I confirm that the new filter is installed correctly?
You can confirm proper installation by ensuring the new filter is securely locked in place and feels solid without any wobbling. After installation, observe the water circulation for smooth movement to verify that the filter is functioning as expected.
What should I do after replacing the hot tub filter?
After replacing the filter, restore power to the hot tub and run the pump for several minutes to check for proper water flow and operation of the jets. Keep an eye out for any unusual noises or signs of leakage during this time.